My chainmaille kit

Shown at long last


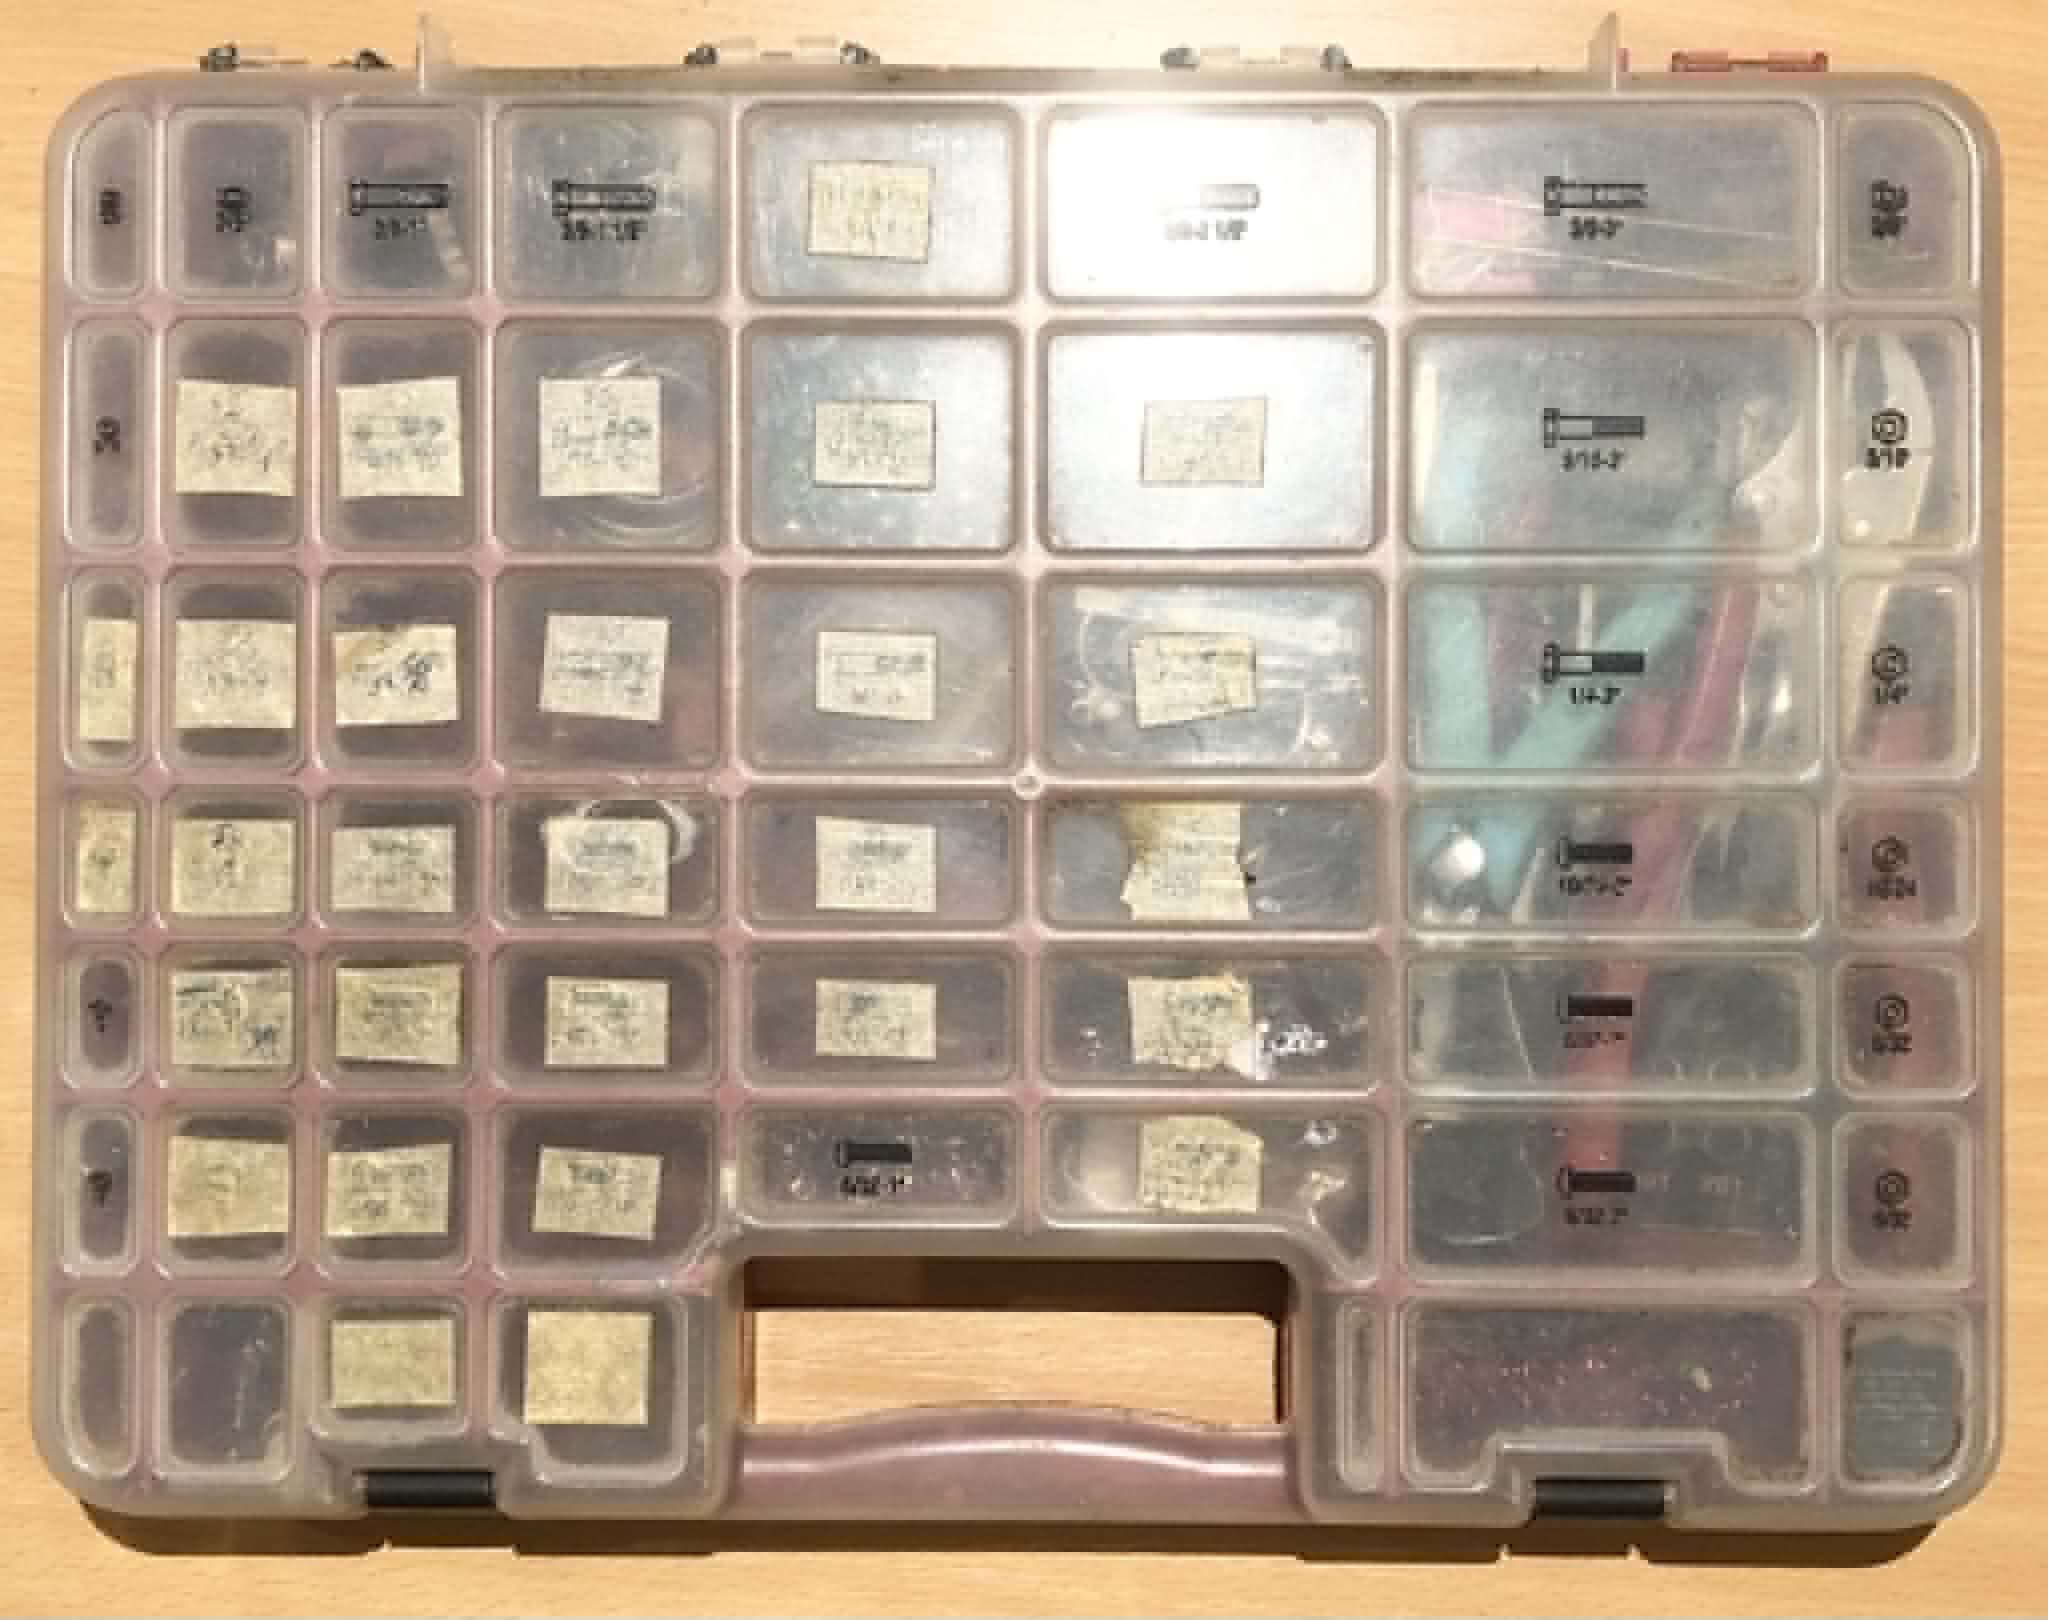
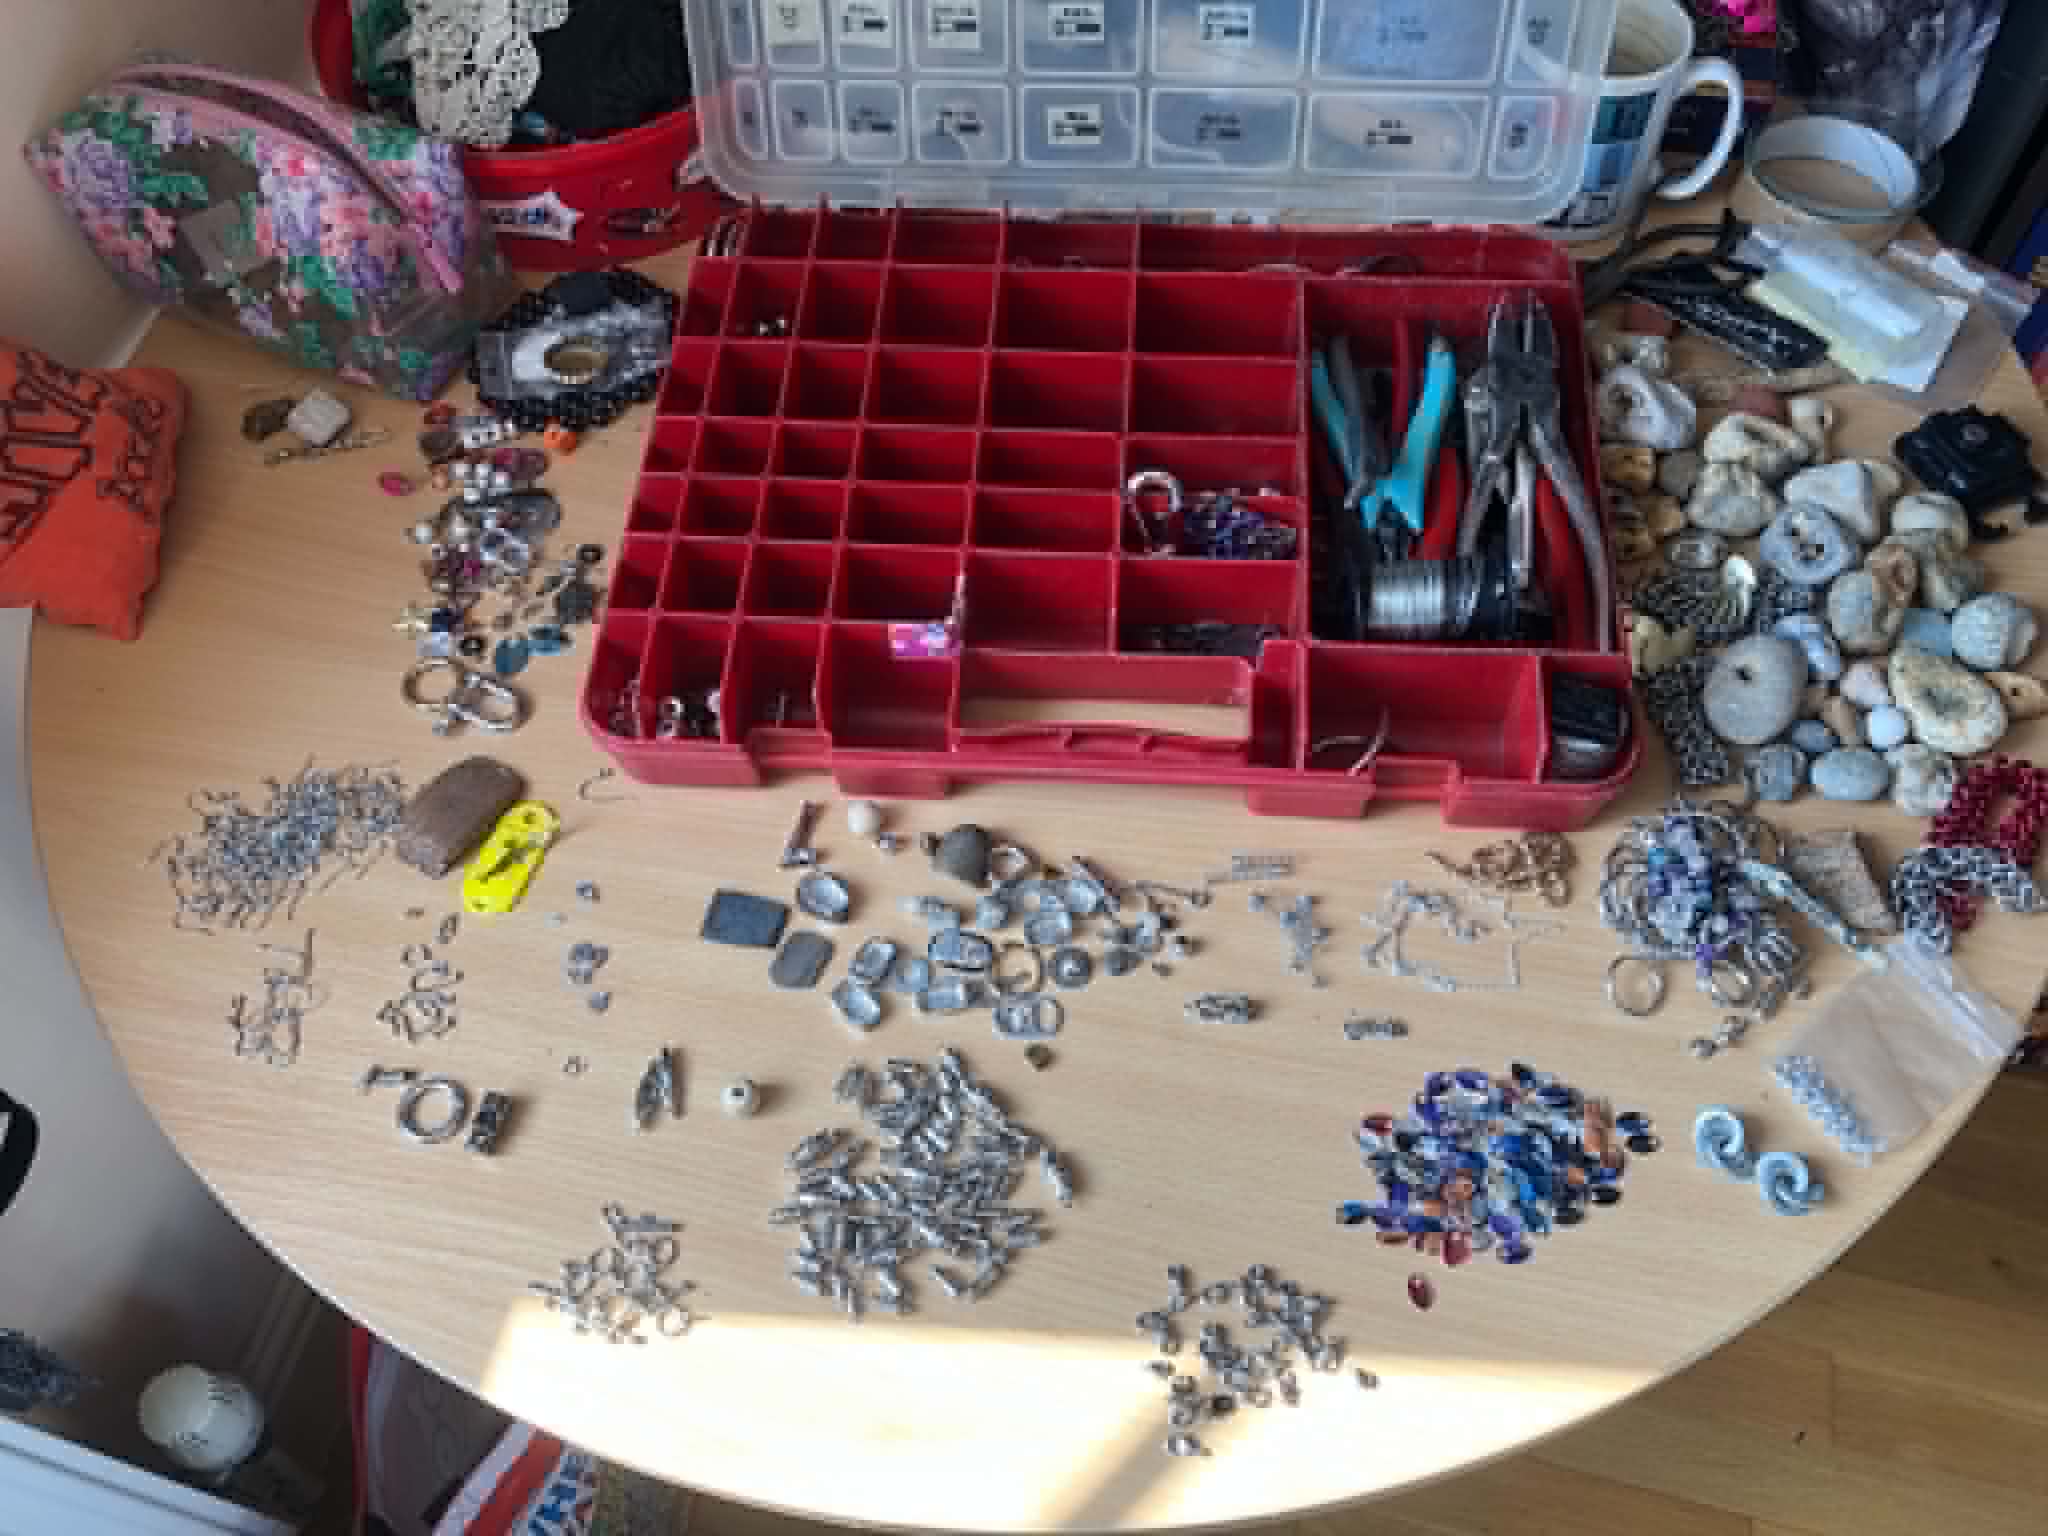
My original chainmailling kit, labelled with barely readable painters tape squares, sitting on a wooden table.
It began as you see to the right. From nearly when I began chainmailling, I needed a way of organizing my rings, and found this nuts and bolts organizer, the contents of which were embarrasingly summarily discarded. I then proceeded to carve away the rightmost pockets to fit the pliers as seen through the lid, and hastily labelled the slots for my various stainless steel and titanium rings, and the other slots were more or less filled as necessity dictated.

It eventually became a horrible mess, not so much the rings, but the charms, bits, random ring pile, and other slots, there was little to no organization. And the labels eventually became almost entirely unreadable. It was time for an upgrade.
Our original chainmailling kit, a large multi slot organizer with 47 pockets, labelled with nearly unreadable pen on painters tape squares, and the rightmost pockets combined together to allow pliers to fit inside.
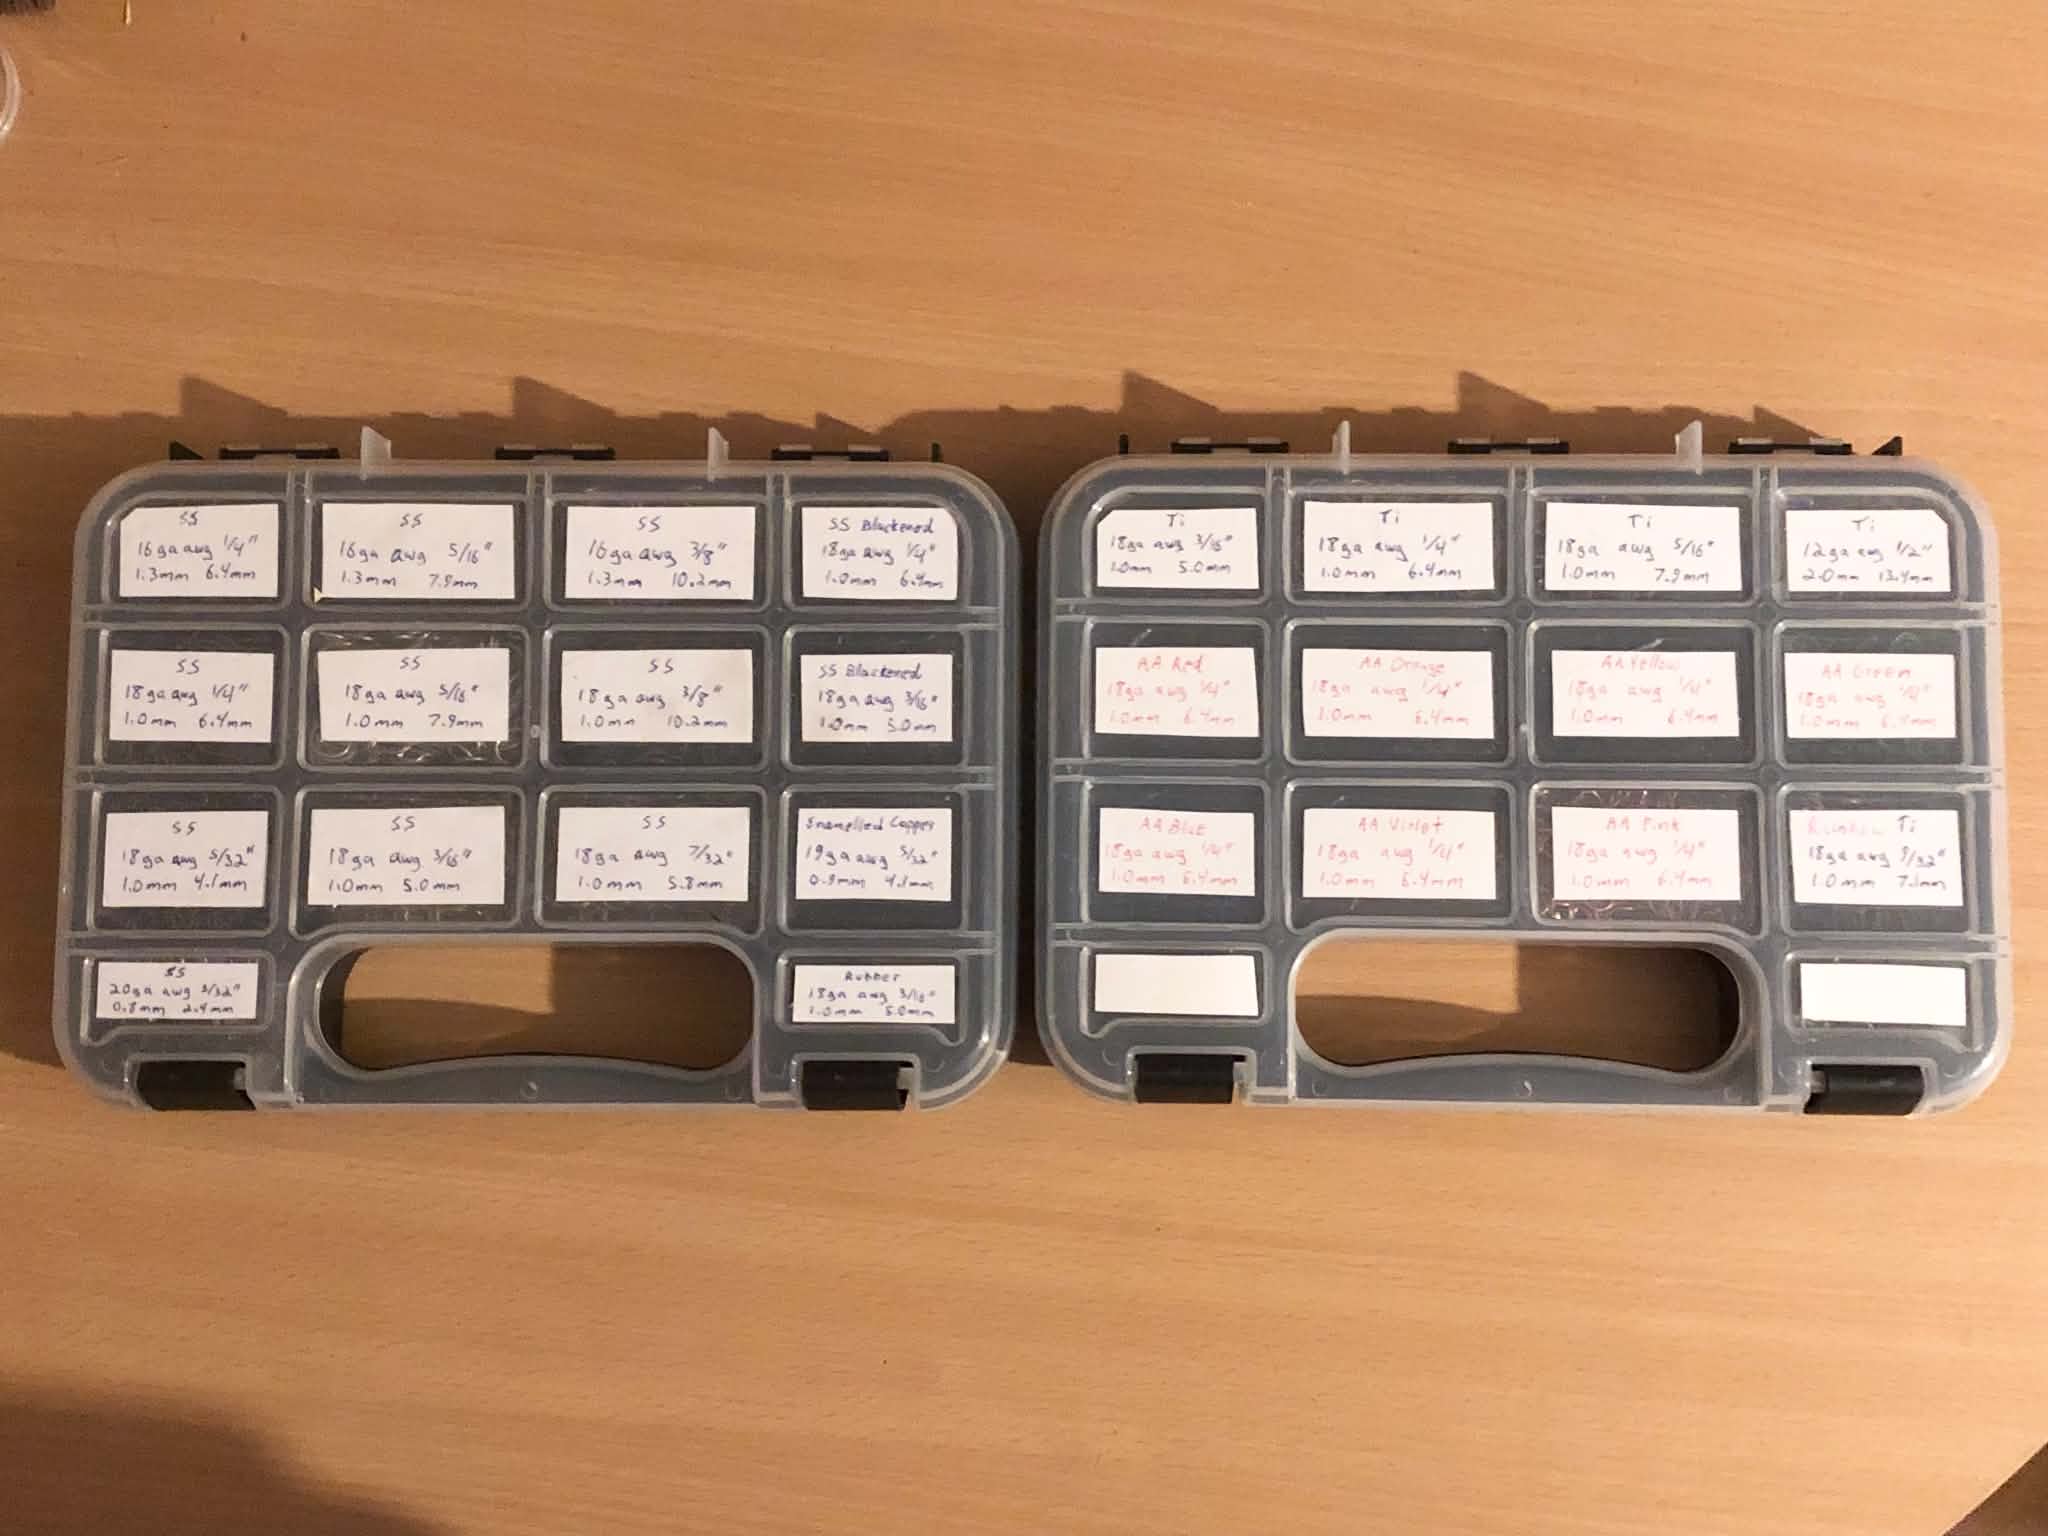
Obtained and labelled in mid 2026, I bought these two cases, that if not the same brand (Stalwart), was certainly inspired by the original (no fathomable what brand it was). So we bought two of the smaller cases (I could also have gotten a larger one literally identical to my original, with black plastic, but then I'd have to carve out the tool slots again).

And so we labelled all of the slots, and this time covered the labels in clear tape to keep them read able, and even separated out the steel, titanium, and aluminium with different pen colours! As well, being in England now, we put both AWG and European metric sizes for each to make purchasing rings easier. Decent.
On a wooden table, two smaller cases with fourteen pockets each, labelled with blue, black, or red ink to indicate stainless steel, titanium, or aluminium rings, as well as their sizes in american wire gauge and metric sizes.
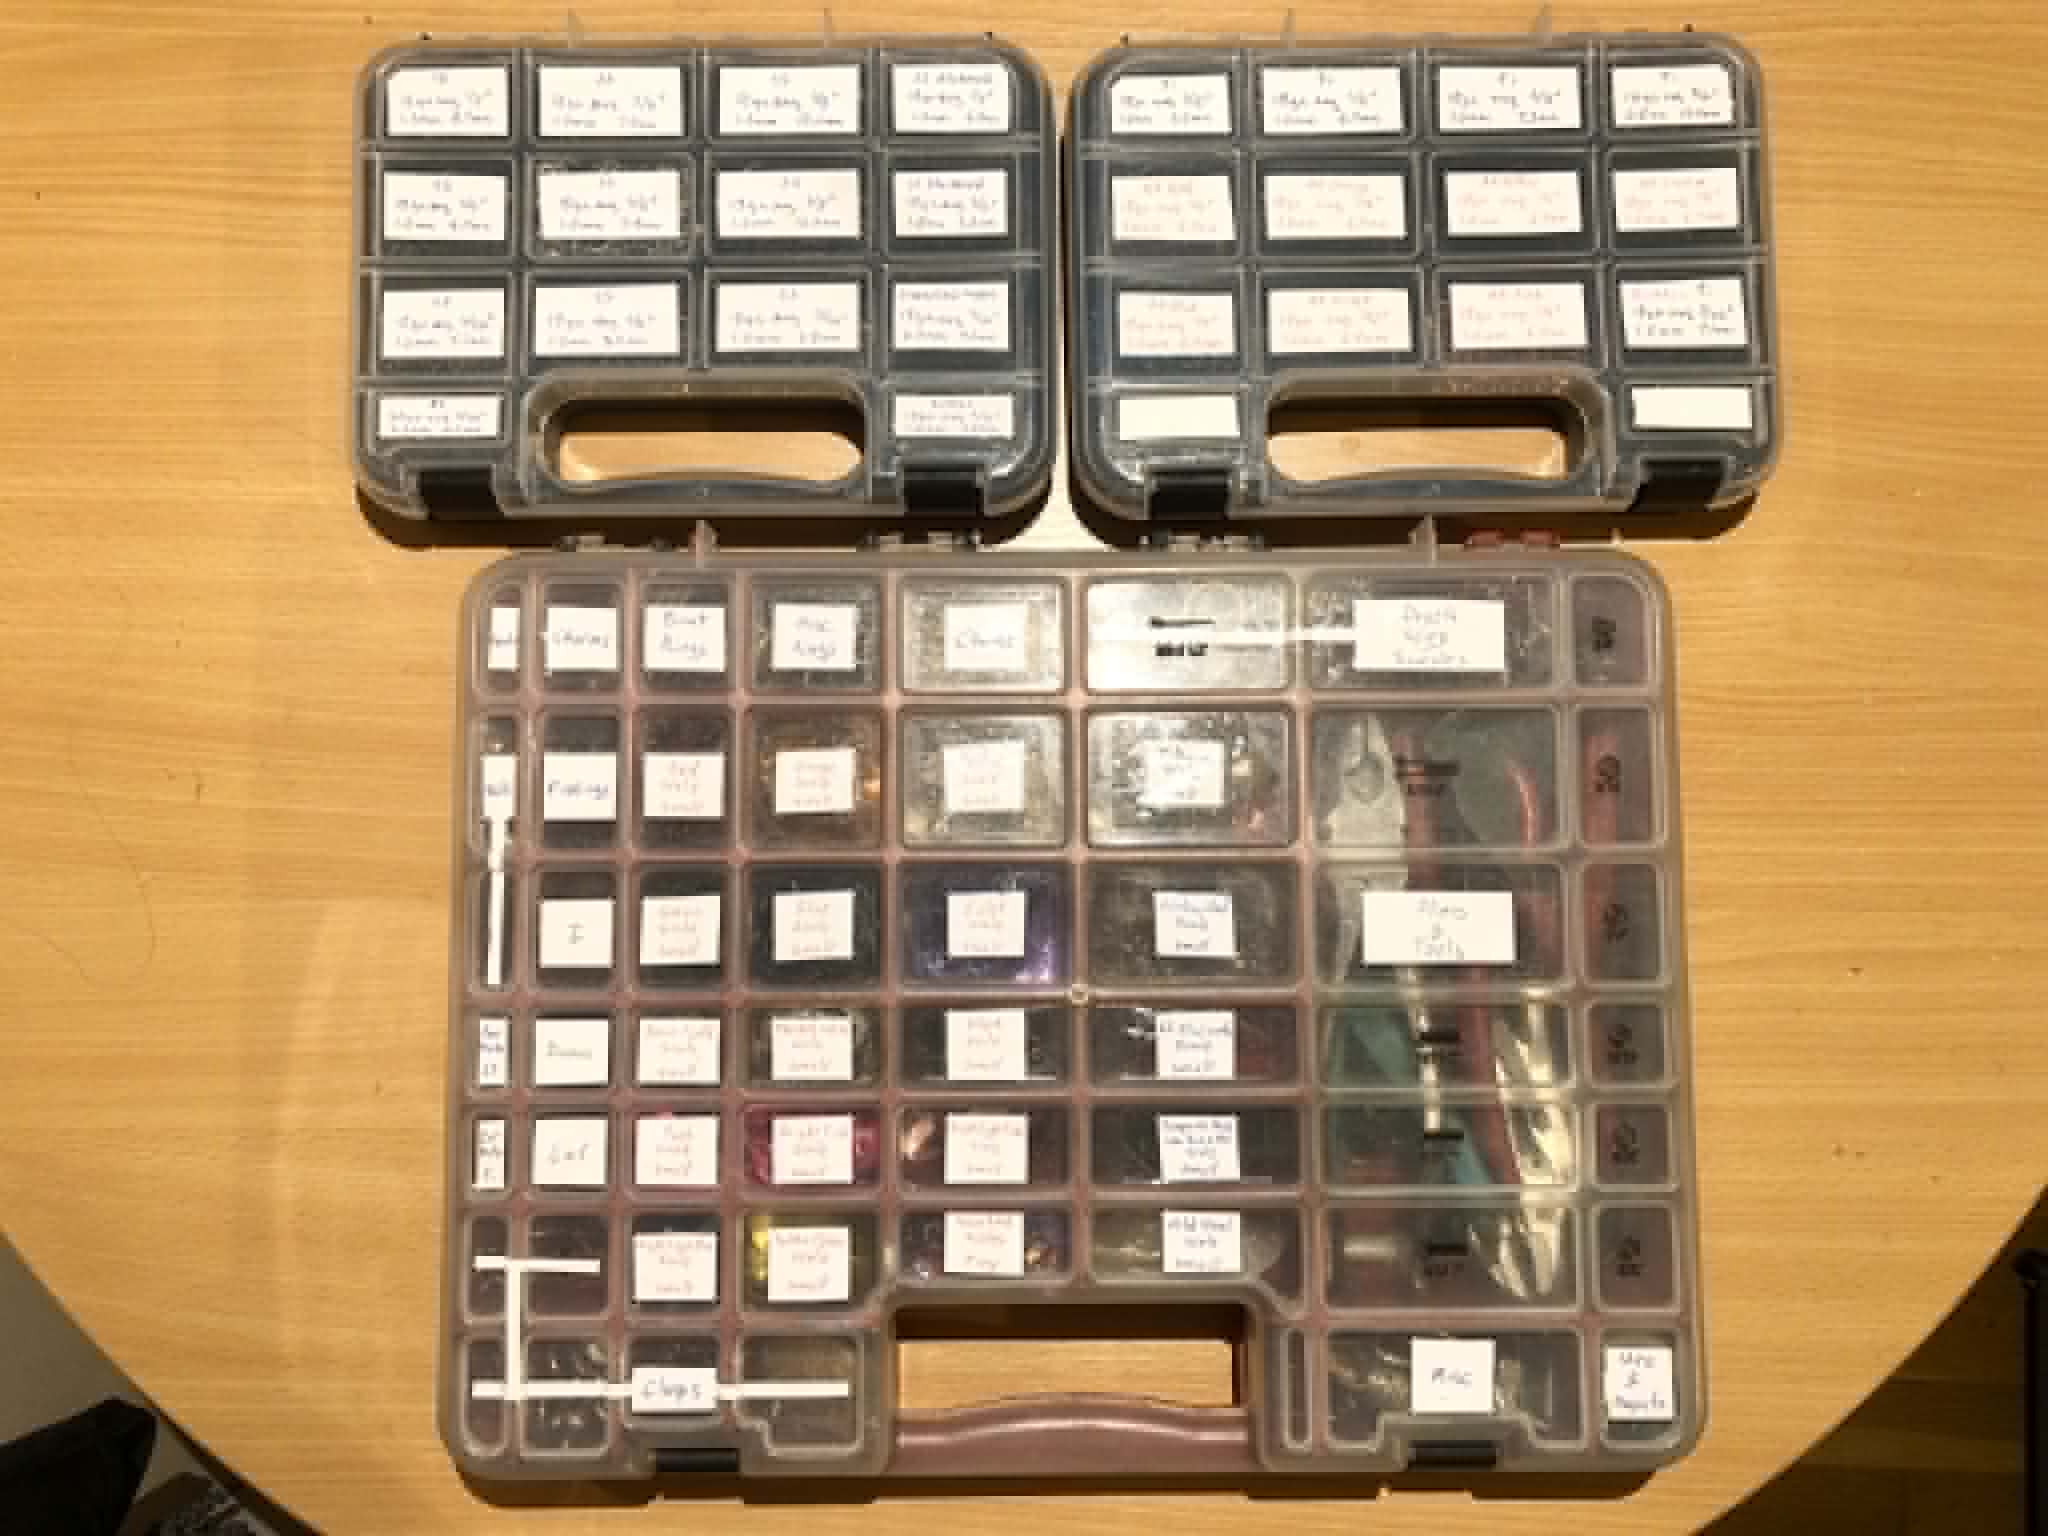
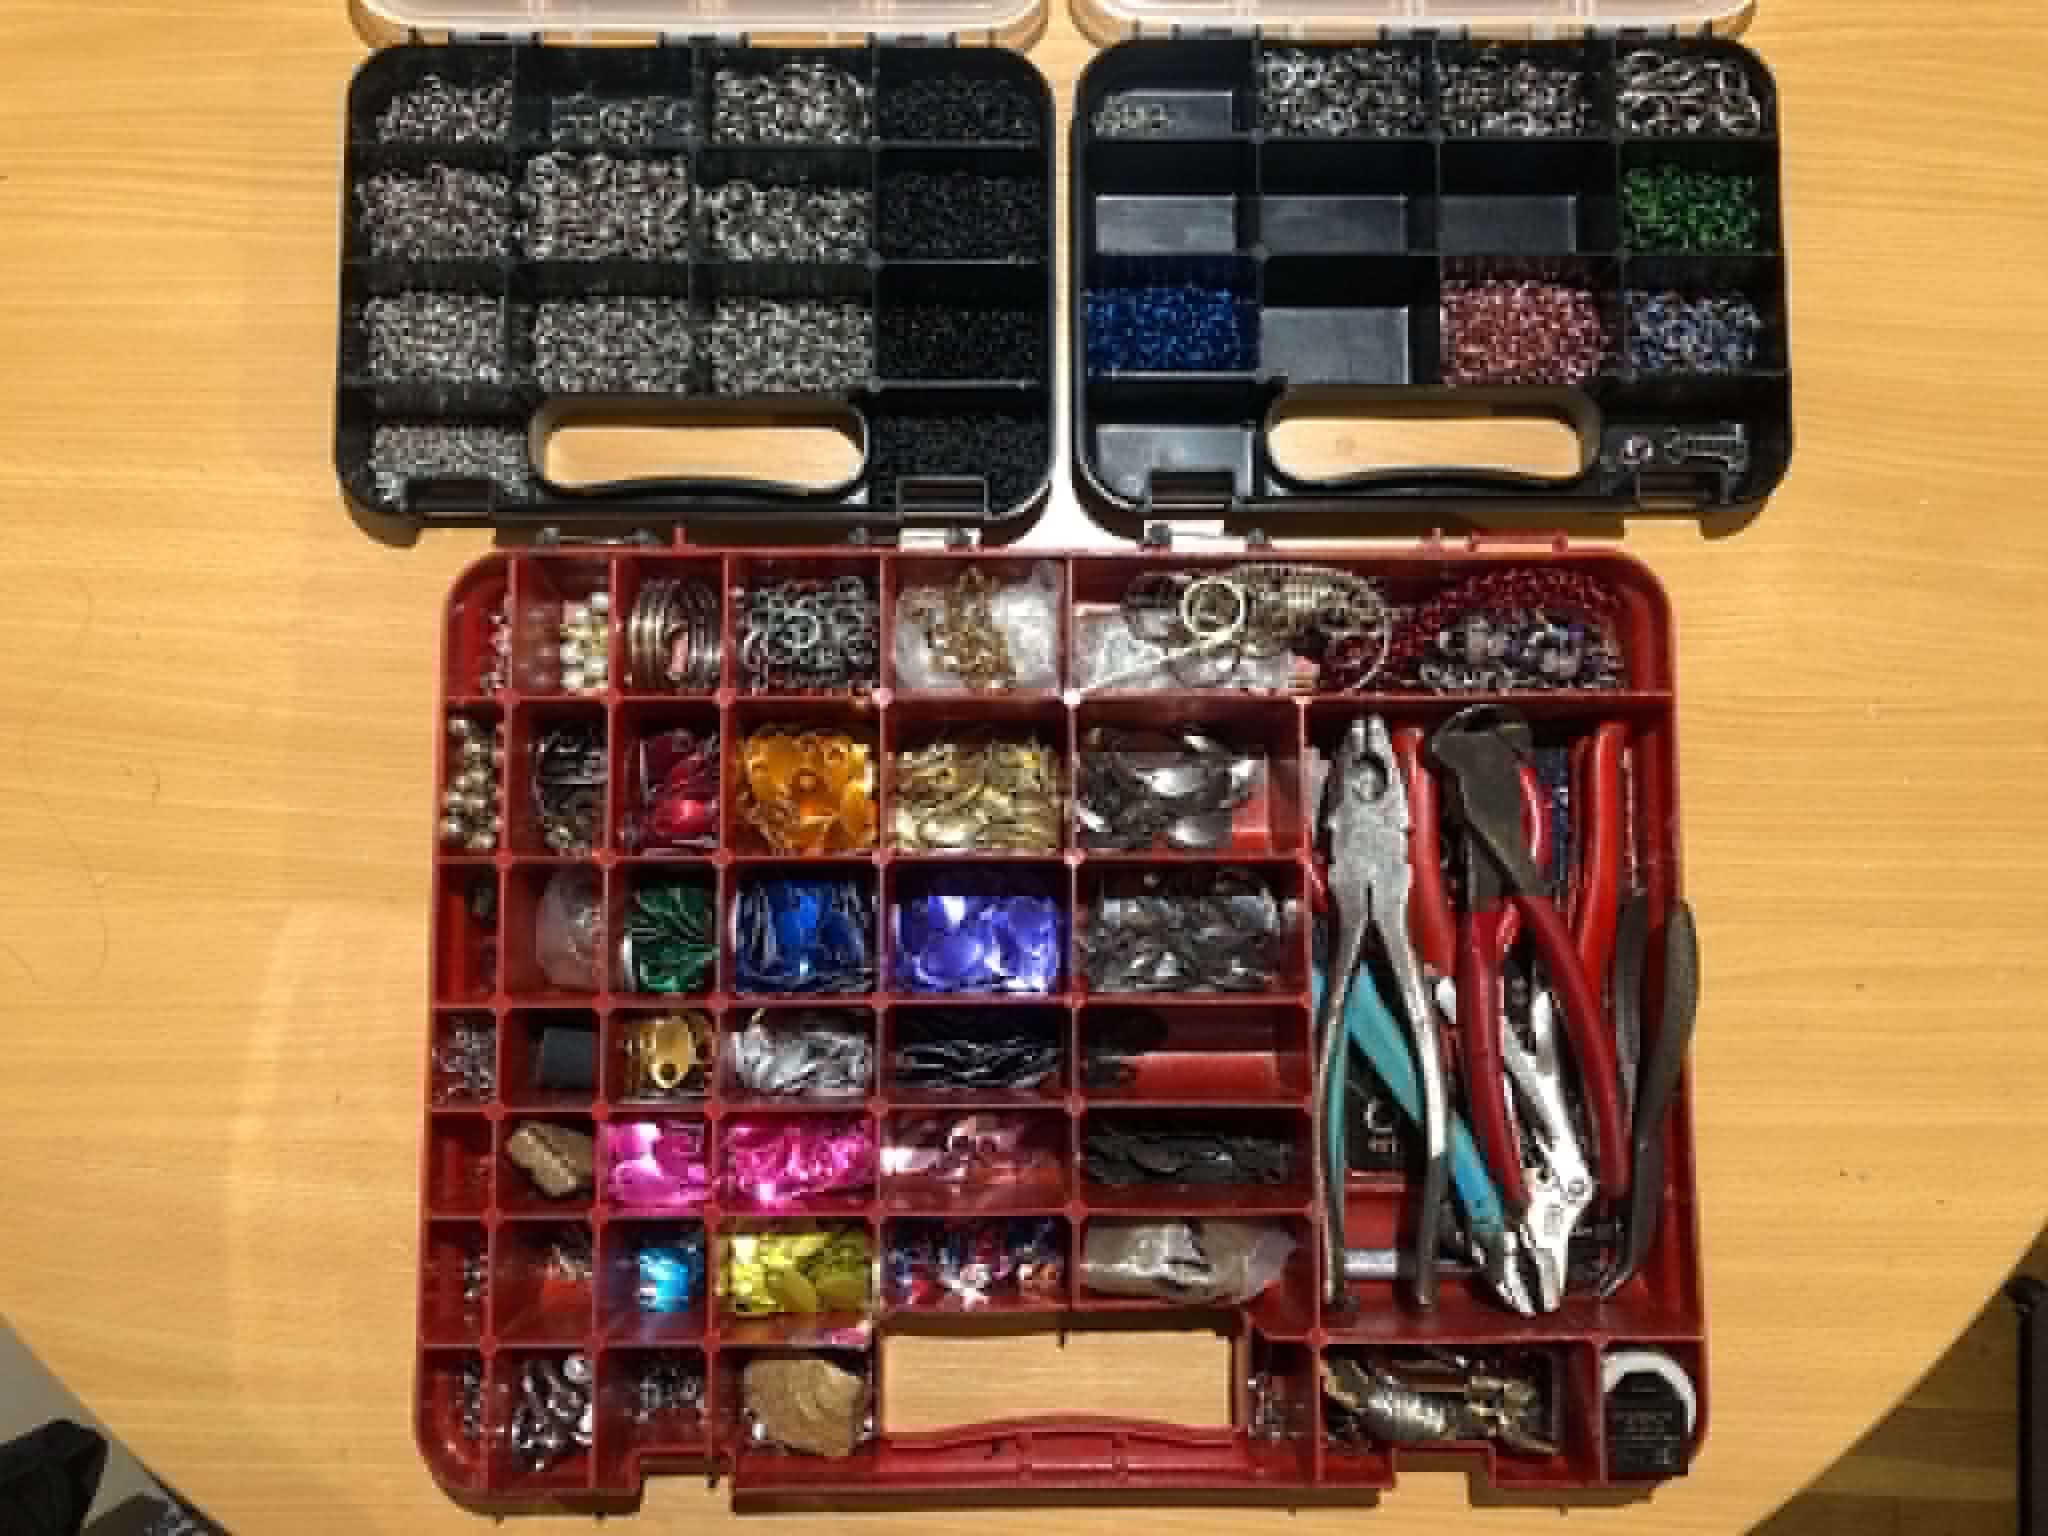
And then... came the reorganization. This was a little bit daunting, I've had this case since I was about 25, and I'm over 45 now, so the dust sitting in those slots is over 20 years old, and the organization of the case showed. In fact, I've generally avoided showing it on camera because of how embarrassed I was of it. But, no more! Organizing it out on the table, I quickly began by sorting all of the scales into the case from scratch, keeping to the middle in figuring I would have the miscellaneous things along the edges, and of course kept the tools in their own slot (though cleaning out the bottom of that was quite satisfying). To preface though, I began by peeling off all of the old labels and cleaning the top and bottom of the lid with acetone, which made it look like new again! Then we added back the tools, added the scales, and added the next most important thing, clasps, into the bottom left. We filled in the top row with necklace chains, the random ring pile (which just moved over a few slots), the uber-thick giant rings, and kept beads, balls, and charms on the top left. We kept earrings along the left, and had three slots left in the second column for just... purely random miscellanea, which I labelled "I" "Dunno" "Lol" :P . The labelling in general was done throughout as I finalized what went where, and as with the ring cases, we went over all of the labels with clear packaging tape to protect from smudging.

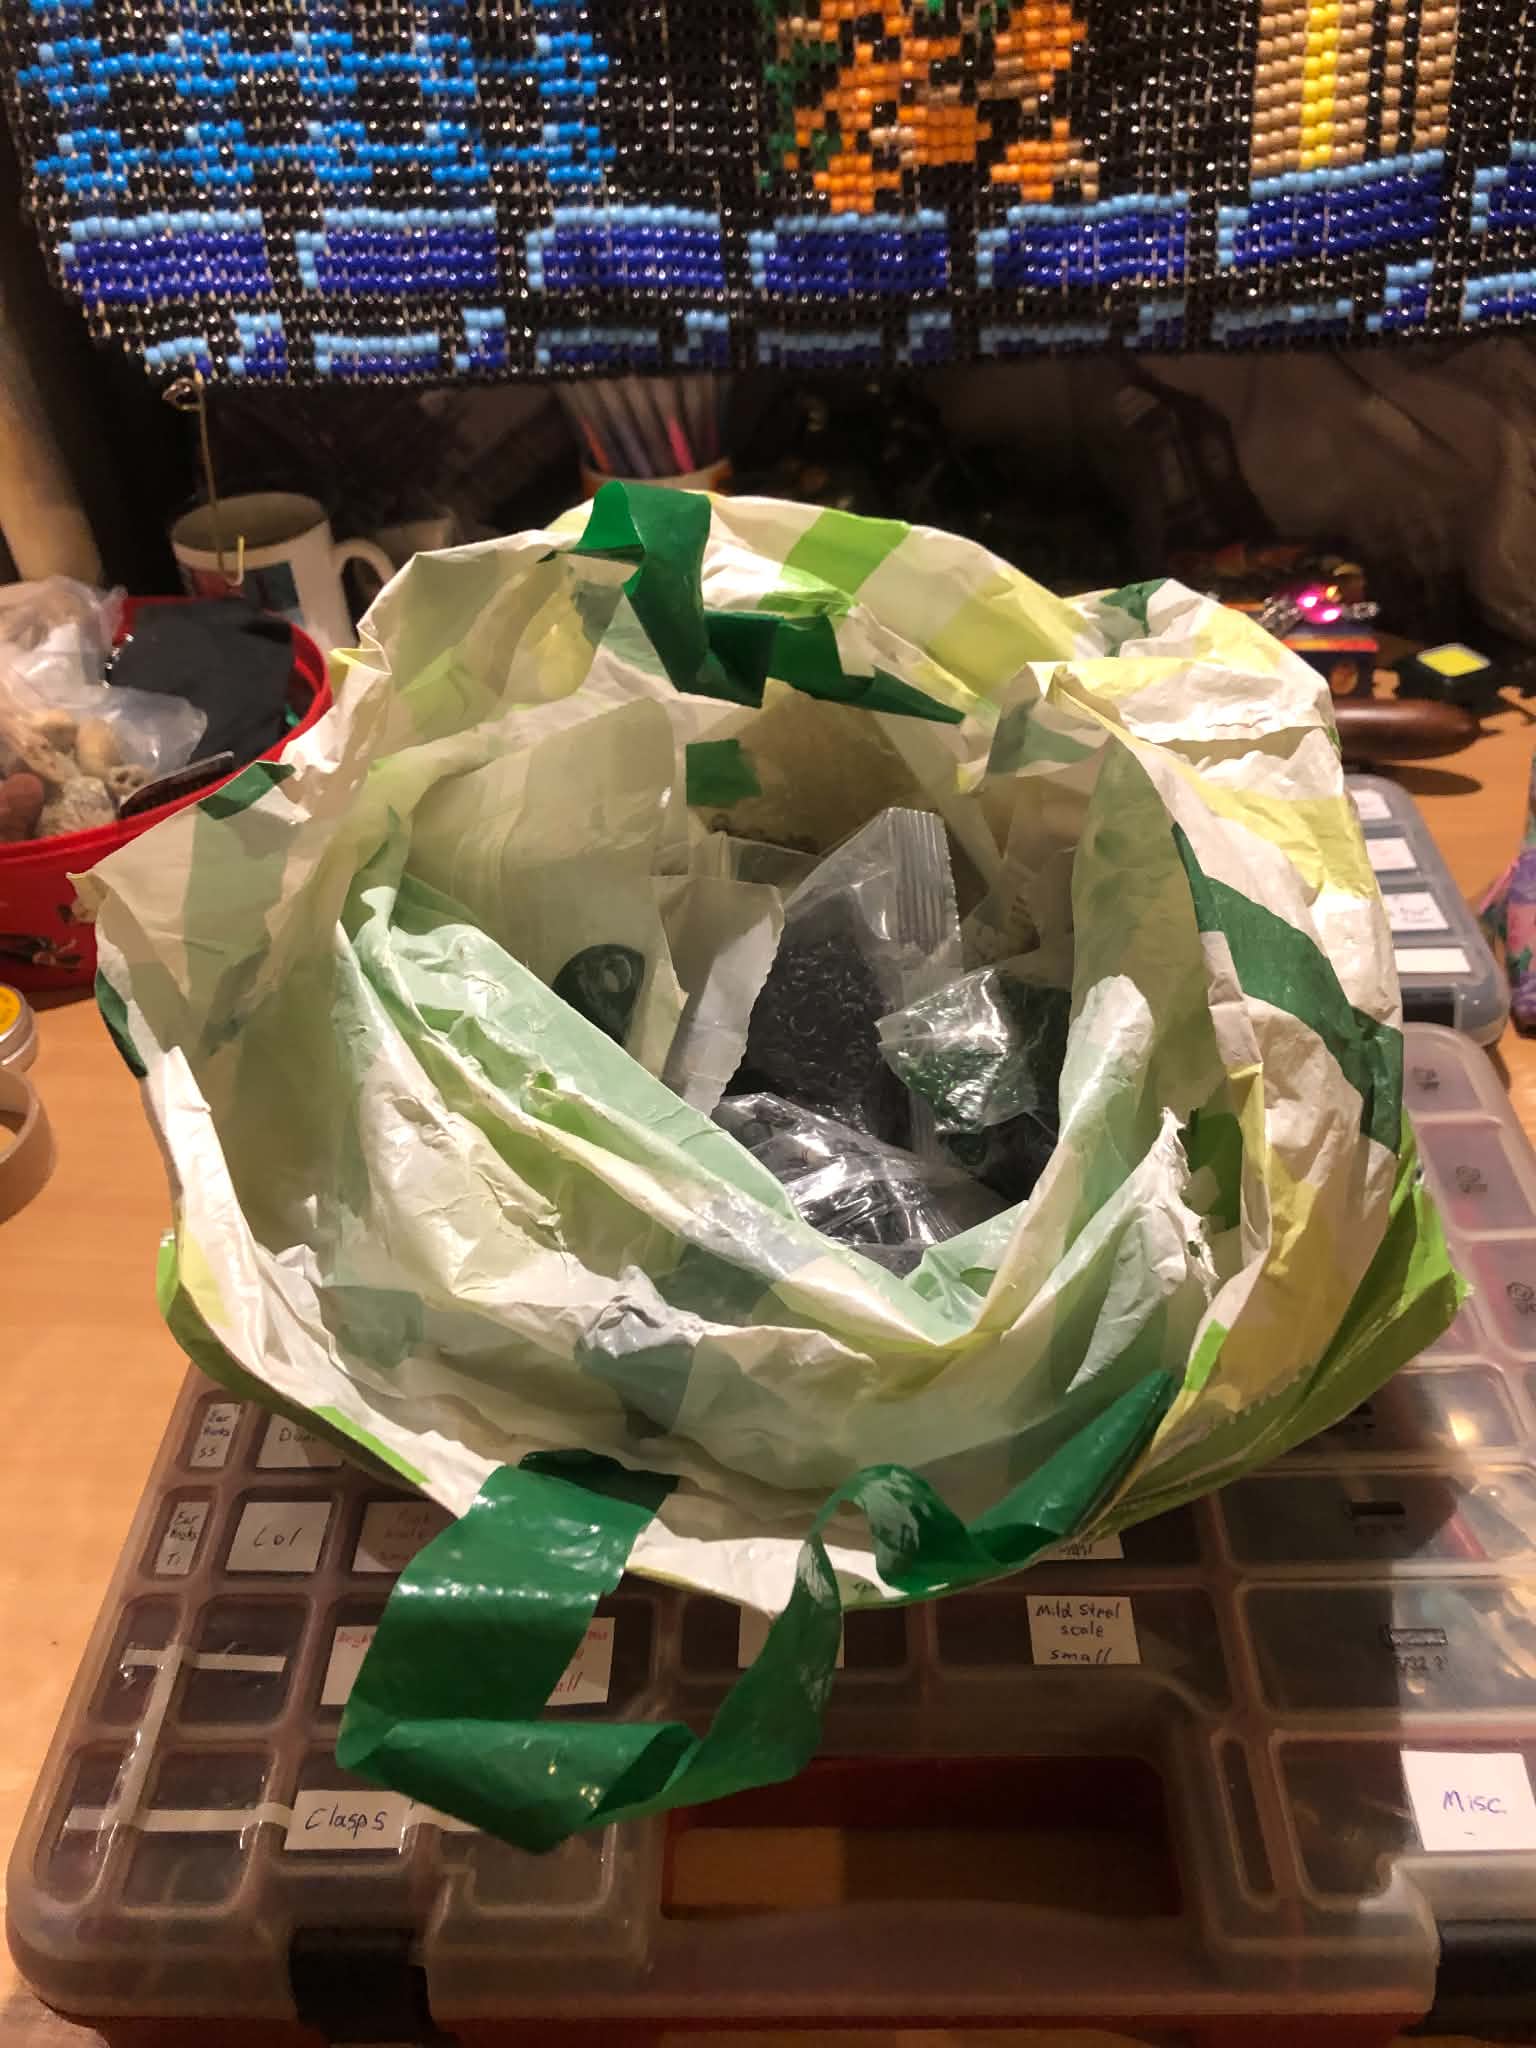
And with that... on July 21, 2026, the chainmaille kit was cleaned and reorganized. It looks like new, it feels like new, and I am SO happy to have all of my scales available to me at a glance. There will be the occasional odd colour picked up (like black ice), much like rings (rose niobium), which will go in ye olde overflow bag (hopefully one day I can upgrade the plastic bag, but the contents are fine), which I generally have mental noted, and poke through the bag occasionally as well.

Let the chainmailling continue!!!
The three chainmaille kits, two black smaller ones and one larger red one, all clean and looking new, with clean white labels over all of the slots.

All of the kits open, the two ring kits showing their stainless steel or alternatively aluminium and titanium rings, and the large red case with all of the coloured and steel scales arranged in the center, the tools all along the right, and the leftmost two rows, and remainder of the top row, being filled with beads, charms, findings or pre charms, ball bearings, earring hooks, clasps, and miscellaneous other things.

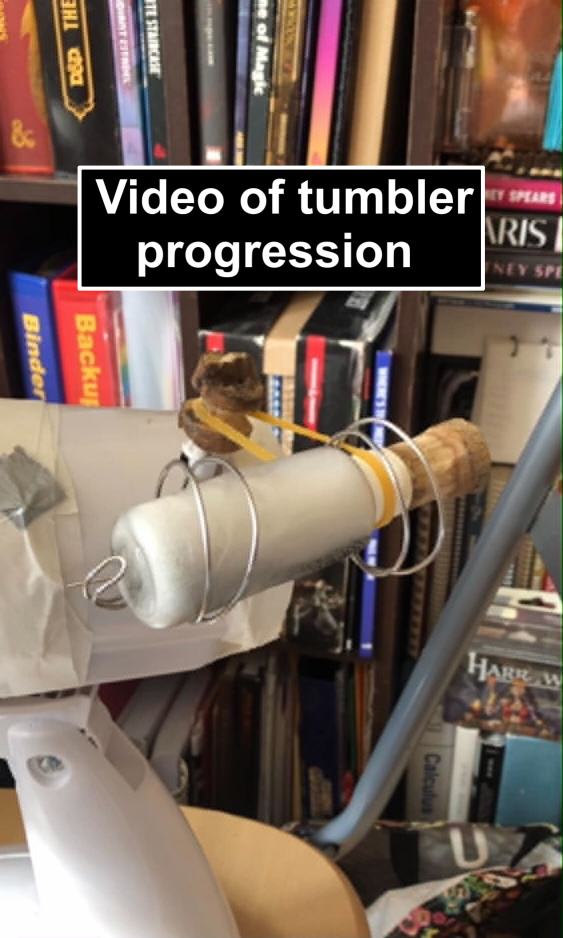
And then, we needed a one-off tumbler. We had a Jacob's Ladder chain made from titanium that I wanted smoother and shinier so that it would ladder smoother. It started with a toilet roll tube, a desk fan, and like half a roll of painter's tape (so as not to leave a sticky residue on the fan when removed). And it... worked? It worked-ish. It spun the bottle containing stainless steel tumbling shot and a drop of water and soap (as recommended by chainmailling forums online, added bonus it decreases the rattle volume significantly), but it spun it slowly. And falteringly. Falteringly but nonstop, so good enough.

Except that it wasn't good enough. After a week on and off, it came, slightly shinier, but not enough. So we upgraded. We started by replacing the tube with a fresh tube having just a rubber band hole cut into it, andthe rubber band going around the (now extended) lid, to spin a bit faster. And then we decided to upgrade again, with WIRE! Good ol' wire, that fixes everything!

And it did! We did one wire system with the drive knob being a bit bigger to speed it up, and then upgraded that knob to an even larger stick with a groove carved into it, and pinned into the original fan knob. And thaaat was the ticket. It runs smooth, it runs faster than ever, the rubber band no longer comes off the drive knob as it did in version 3, and as mentioned, the soap quiets it down (you wouldn't believe the rattle without it).

And that'll do. And the chain came out shiny and new, and should I need another tumbler somewhere down the road, or it becomes a regular need, I'll get an actual tumbler. Until such time... good work lil fan bottle ^_^
A pic of the final tumbler, with text saying video of tumbler progression. It begins as a simple cardstock tube cut into two pieces so that a rubber band can reach through the middle, taped to the side of a desk fan with a small rotating knob, and a small, clear plastic tube inside being rotated by a rubber band. It transitions to a photo of a similar setup, but with more tape and a less cut apart cardstock tube, and then another photo of the bottle being suspended by a bridge of wire looping around the bottle at the top and bottom, and the rubber bandgoing around a black electrical tape extension of the drive knob, followed by the running of the same wire setup, but with a larger wooden knob made from an old stick pinned above the drive knob.


Back to chainmaille